Mother Nature can wreak havoc on even the best sailing gear and equipment. Thankfully, with repair magicians like Quantum’s Eric Grigsby here, you don’t need to fret if a nasty storm or big breeze damages your sails. Eric explains what goes into common patching repairs and how he makes sails as good as new.
A lot of the repairs you’ll read about here can be avoided with regular inspections (Catch the wear before it needs a major fix!), but, at some point in your sail’s life, it will likely need repair for any number of reasons ranging from a nasty puff to crew error. Some of the most common issues I see, such as torn or chafed areas, can be repaired with patches. The following descriptions will give you a look at the different types of patches used to repair specific damage to both cruising and racing sails and make them like new again.
A window patch involves completely removing the torn or damaged area and replacing it with new cloth of the same type. Window patches is the more common approach with Dacron cloth and nylon spinnaker cloth than with laminate cloth and are usually done when there is significant damage. The torn cloth is reassembled using masking or insignia tape, and then the damaged area is pinned out flat and sectioned off with double-sided adhesive tape. The new cloth is then positioned with the fibers in the correct orientation, and the old cloth cut out on the opposite side of the sail and the seams stitched. If the window patch is executed as I’ve explained, it will not affect sail shape or strength. However, it is essential to first remove the shape in the sail, pin the area flat, and orient the warp and weft fibers in the correct direction in relation to the area you will be replacing on the sail. Warp fibers run with the length of the roll; weft fibers are woven perpendicular to the warp yarns. Many cloths also have bias and scrim yarns in them. It is critical to match up the fibers because they act as load paths that take the strain and shock-loading the sail is subjected to while underway. The new cloth should be as close as possible to the same weight, style, and yarn type if a clean repair is to be made.
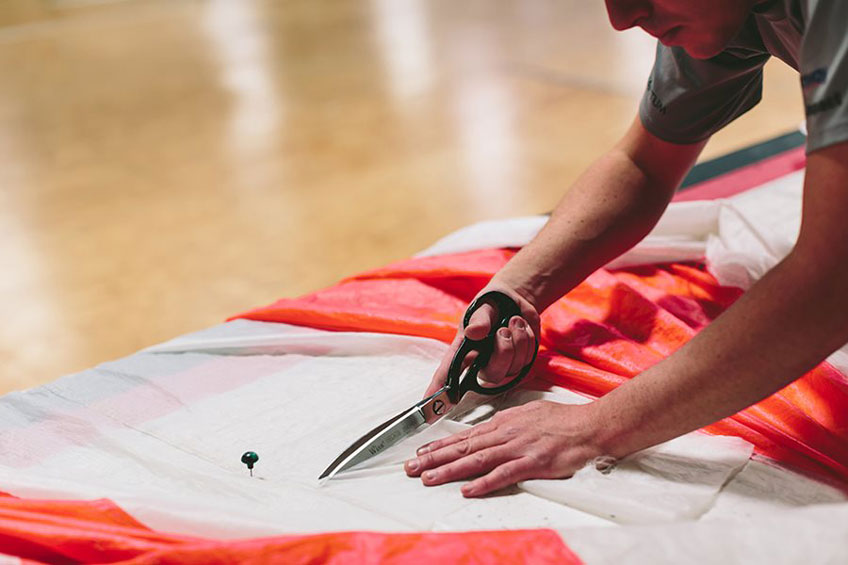
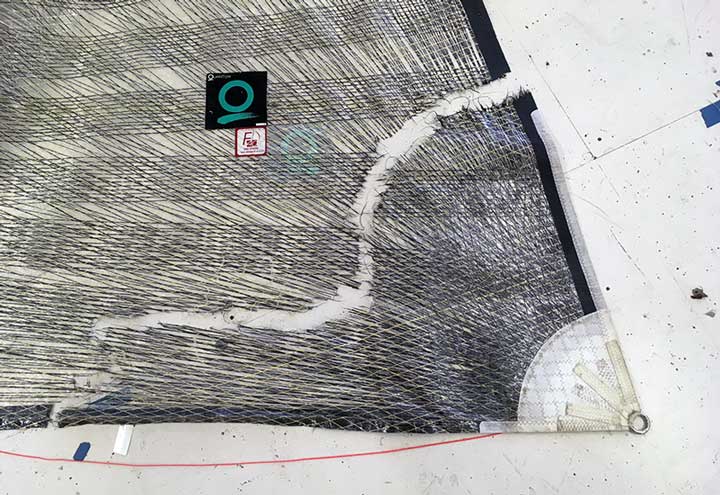
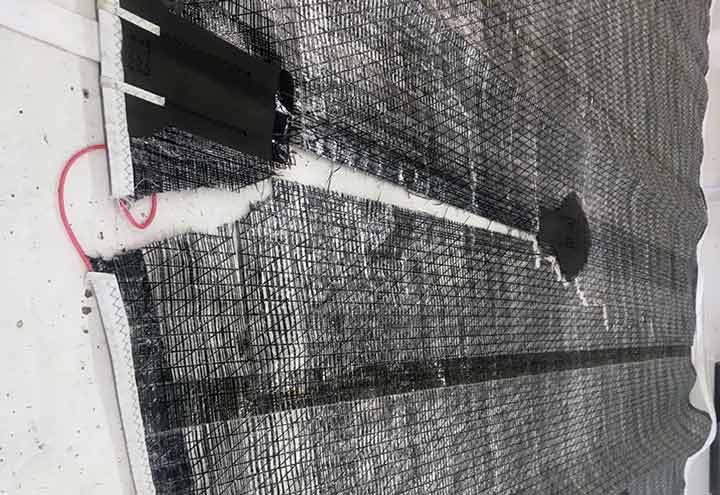
LIKE A PUZZLE
A tall-ship sail's tear is taped back into place in preparation for a window patch. The damaged material will eventually be removed when the new panels are stitched in.

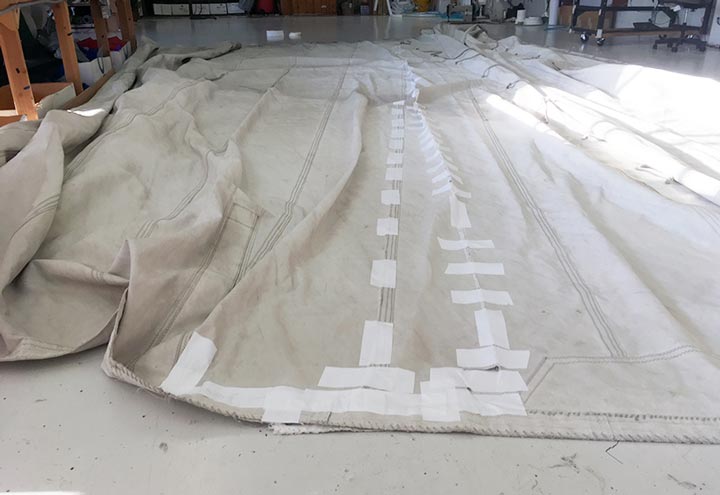
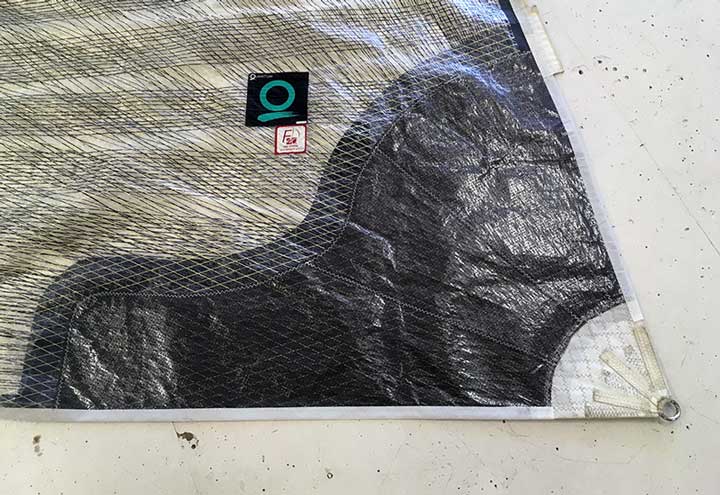
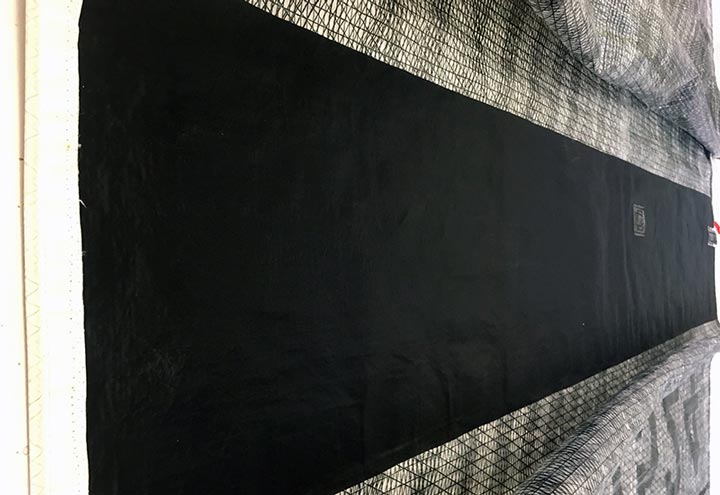
NEW MATERIAL
The new panels are pinned down over the reassembled damage. Next, it will be stitched in place and the damaged portion removed.
A band-aid patch uses a piece of cloth with adhesive backing and applies it to the damaged area on both sides of the sail and then is usually stitched down. This repair is common for small holes and tears and is often the preferred method for repairing laminate sails. A small tear or pinhole in a spinnaker can be repaired using an insignia patch applied to both sides. An insignia patch is a lightweight polyester woven cloth with a pressure-sensitive adhesive (PSA) backing, which makes it excellent for small spinnaker and laminate repairs. The surface is wiped clean of any dirt or salt before the repair is made. The patch cloth must be applied flat and rubbed down vigorously to activate the pressure-sensitive adhesive.
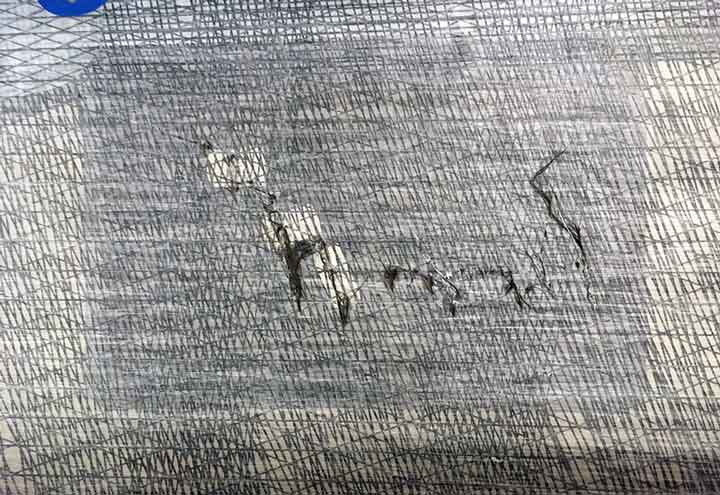
Ouch!
A simple tear is no match for a band-aid patch appropriately applied. Here the patch is already applied to one side and is being prepped for the next step.
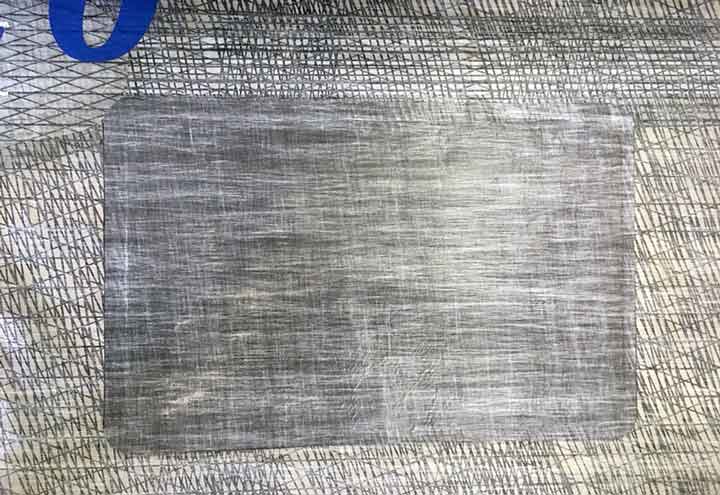
Straight forward fix
The patch is applied to the other side and once cured the sail is good to go.
Laminate sails can vary greatly, and their yarn layout and construction is typically a bit more sophisticated and delicate than conventional sail cloths due to their Mylar construction. Some laminates have Mylar films on both sides; others have taffeta films and even Mylar taffeta combinations with everything from carbon to Kevlar yarns. Often the best approach to repairing large tears on laminate racing sails is Ultrabond (hot glue) band-aid patches with minimal to no sewing required. If the yarns are fully severed, then new cloth of the same or similar style and weight will need to be applied in order to make a proper repair. The yarns in laminate cloth create the structure of the sail and act as load paths similar to the individual fibers that comprise more traditional cloth like Dacron. A cover layer of insignia or spectra/Kevlar PSA should be placed over the repair on both sides of the sail. The patches need to be different sized, with one larger than the other to prevent any hinge points, which is a laminate sail’s worst nightmare. The repaired area needs to be left flat to cure before it is ready for use on the water. Smaller tears and damage to the film can be made using Mylar PSA on both sides, although, just like other adhesive tapes, the sail surface must be clean and flat before application.
IT HAPPENS TO THE BEST OF US
Opps...your bowman fell through the tack! No worries, we can fix that, too.
FRONT
Nothing a little band-aid patch and a few stitches can't fix.
BACK
Now back to sailing.
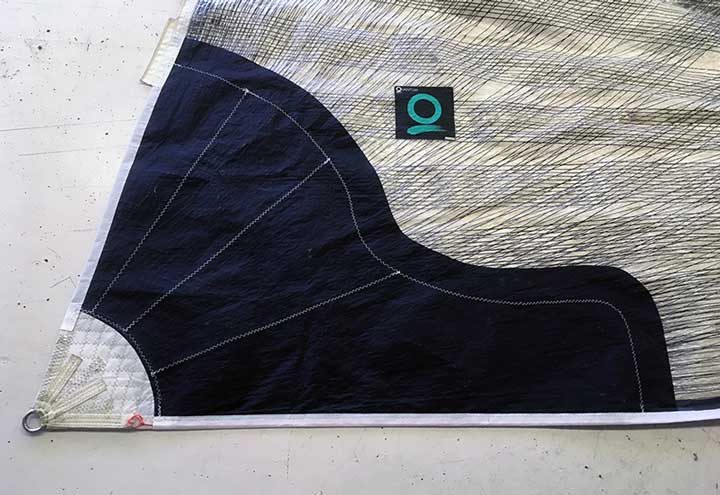
CORNER PATCH/BROADSEAM TEARING
Sometimes laminate sails can begin to break down along hinge points, such as at the edges of patches, broadseams, and leech belts, where there is a sharp transition from thick to thin cloth. For broadseam tearing, a repair using a triangular type of patch with a laminate structural patch on one side and staggered cover patches on one or both sides with sewing around the perimeter of the inner patch will do nicely.
For repairing tears around corner patches, it is common to extend the panels of the patch. This not only covers and reinforces the compromised area of sail, but it also moves the hinge point farther into the sail where the cloth still has integrity. Corner patches should always be offset on laminate sails to help prevent the kind of damage often found on clew patches.
CHAFE PATCHES
Shroud chafe is a common sight on batten pockets and can usually be repaired with a little insignia or Dacron tape. Spreaders can also cause chafe and puncture holes in sails, so an insignia reinforcement patch should always be used wherever the sail comes in contact with standing rigging or stanchions. Insignia tape is versatile and can be used effectively and with minimal weight gain on nearly every cloth type.
LUFF TAPE PATCHES
Luff tape patches are another common patch, in this case made to a sail’s luff tape. Both racing and cruising sails see luff tape wear at high-load areas such as the head, batten pocket locations, and reefs. On larger racing yachts, a strong reinforcing tape is needed to withstand the heavy chafe they see on their mainsail luff tape. A cloth like Hydranet, cut on the bias and sewn on to high chafe areas, will take a lot of abuse and save your luff tape from being chewed up beyond repair. Spectra and Kevlar cloths are also good to use for this purpose as long as they are cut on the bias to ensure that both fibers will be working. On cruising headsails, the section of luff tape at the head often needs to be repaired due to UV exposure which breaks down the fibers in cloth over time. The tolerances are so tight on many furling forestays that lighter cloth like insignia needs to be used for this repair to ensure the boltrope will still fit.
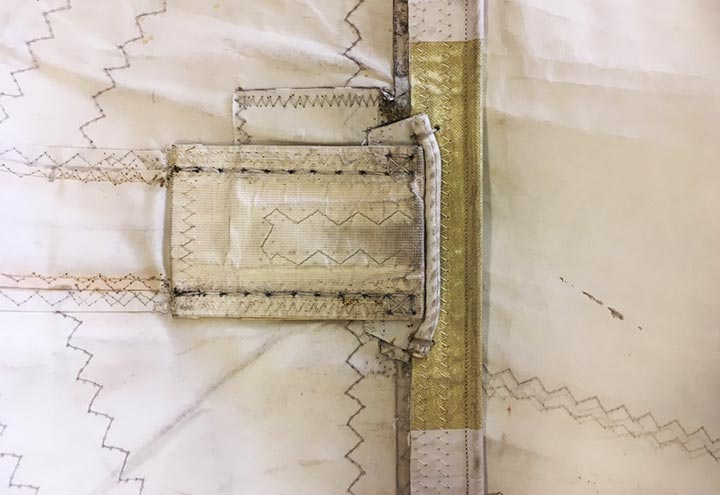
A COMMON WEAR POINT
A nicely placed Kevlar patch makes this luff good as new.
LEECH BREAKDOWN
The leech of an upwind sail can break down over time, particularly with laminate racing sails. A great way to strengthen the edge of the leech on lightweight laminate sails is to apply a larger insignia belt cut into a wave formation rather than a straight cut. This eliminates any future hinge point. Often a recut and wave insignia is all your leech needs to get it flying correctly again.
IT LOOKS A LOT WORSE THAN IT IS
Even gnarly damage like this can be repaired.
GOOD TO GO
A few layers of material strategically ultrabonded over the damage and the sail is ready for use again.
With the right tools and know-how, almost any repair can be made to a sail as long as the cloth still has sufficient integrity. Some smaller repairs can be made onboard, while larger repairs will require the use of a loft and qualified sailmaker to breathe life back into your sail. For offshore cruisers, I highly recommend having a well-equipped repair kit to make emergency repairs. Check out our offshore repair kit checklist or call your local Quantum loft and they can help you assemble the right kit for your needs.